RealWorld Icon Editor screenshots
A self-sufficient icon editor
All screenshots on this page contain images and 3D models created exclusively in RealWorld Icon Editor, without help of any other software.
Convert images to iconsRealWorld Icon Editor features an user-friendly, configurable, and quality-tuned image to icon convertor:
|
|
|
|
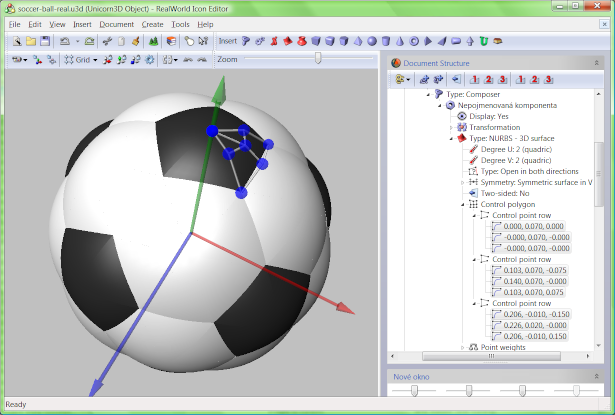
Create icons from 3D objectsUse a built-in 3D graphics editor to create icons with natural and unobtrusive style:
|
Draw your own iconsThe built-in image editor is powerful enough to allow you to paint an icon from scratch:
|
|
|
|
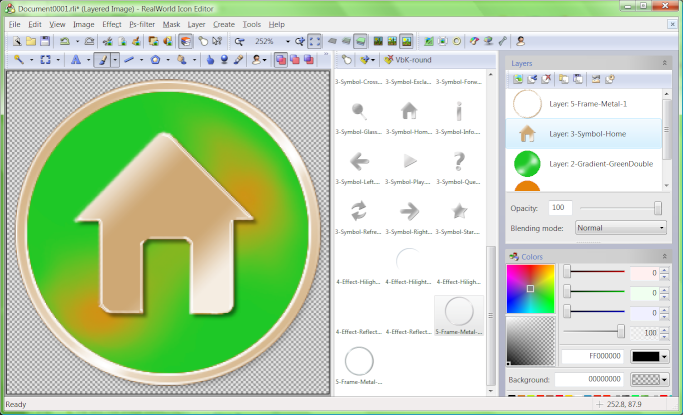
Compose icons from partsAssemble icon from pre-made shapes:
|
Batch processingCreate icons from image, extract images from icon, create icon previews, and more:
|
|
|
|
Manage icon librariesIn case you are still using .icl files, you can add, remove, and modify icons inside them:
|
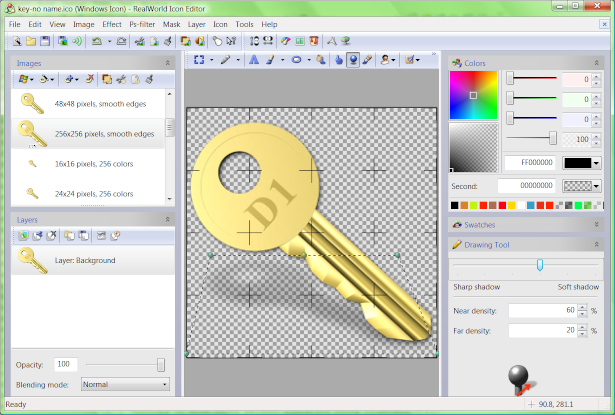
Modify iconsExperienced icon authors spend only seconds in the actual icon editor to add a few final touches:
|
|
|
|
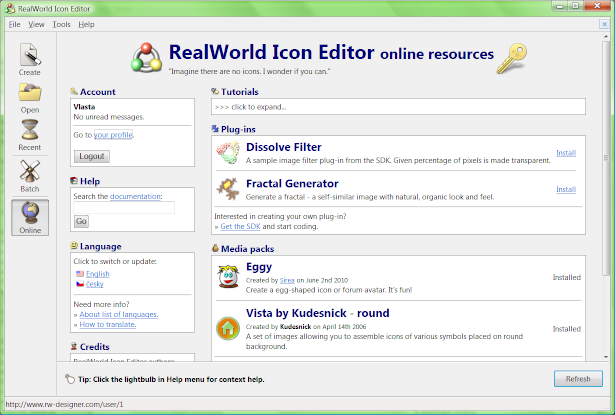
Online resourcesRealWorld Icon Editor connects you with the authors and with other users through its Online page:
|
download icon editor
